Introduction to FMOD Integration in Godot
- Marc Willy

- hace 4 días
- 7 min de lectura
Actualizado: hace 2 días
Table of contents:
FMOD is a widely used audio middleware in game development, designed to build interactive and highly immersive sound systems. It has been part of the audio pipeline in games like Celeste, Alan Wake, Crysis, Ruined King, among many, many others.
Here we’ll be using a C++ GDExtension for Godot 4, that brings the FMOD Studio API directly into the engine. It exposes much of the Studio API to GDScript and also includes helpful nodes and utilities to simplify common tasks, such as linking FMOD events to Godot nodes or working with 3D and positional audio. If you're new to FMOD, I recommend checking out Sergio Ronchetti's YouTube channel to get a better understanding of how the software works, as well as the official FMOD documentation. This won't cover how FMOD works.
In this guide, we’ll go through the basics of setting up this integration and getting FMOD up and running inside your Godot project in a clear and practical way.
I'd like to emphasize that I am by no means an expert on this topic, and this article is simply intended as a helpful resource for anyone who may find it useful. Any suggestions, corrections, or contributions to improve this article are more than welcome. Thanks!
New FMOD Project
If you already have one, skip this step, but If you don’t have an FMOD project yet, you can use a ready-to-go example project. To do so, simply open FMOD and select "Create New Examples Project" from the list. Keep your FMOD project in a separate folder from your Godot project. At least, that's the recommendation I've come across most often.
Installing the Godot Extension
We’ll be using the Utopia Rise extension, from this page. New releases are published from time to time, so it’s worth keeping an eye on updates as they come out. You only need to download the addons.zip file. It's worth mentioning that you can also find a demo just below and see how FMOD events have been implemented in an already existing 2D project, but I won't be using that one.

Then extract the files and move their contents into the addons folder of your Godot project.

Enable Plugin
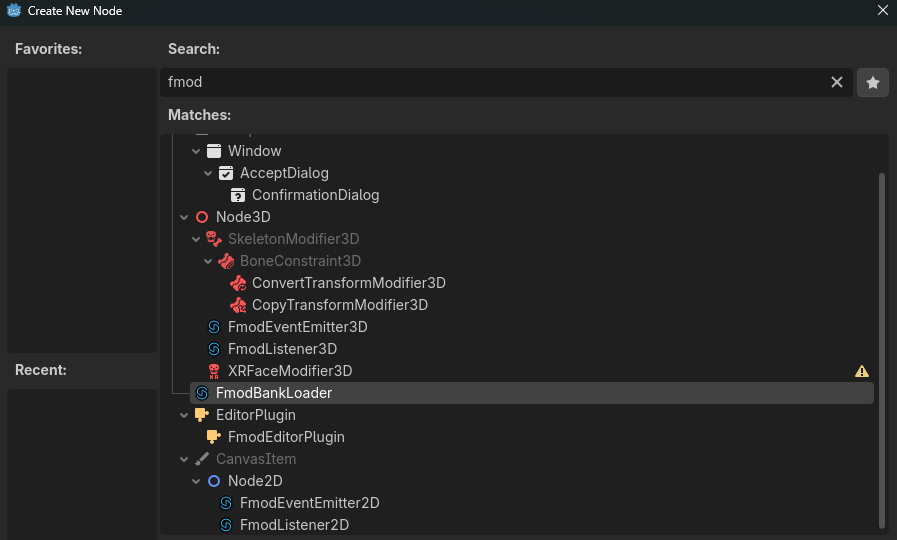
Open your Godot project and go to Project Settings, then switch to the Plugins section. You should see an option labeled “FMOD GDExtension” with a checkbox beside it—just turn it on. After enabling it, you’ll be able to create FMOD nodes, access the bank explorer (top-right), and use FmodServer in your scripts.
Set up your FMOD Bank Files
We have our GDExtension ready to use but we need to link FMOD to Godot.
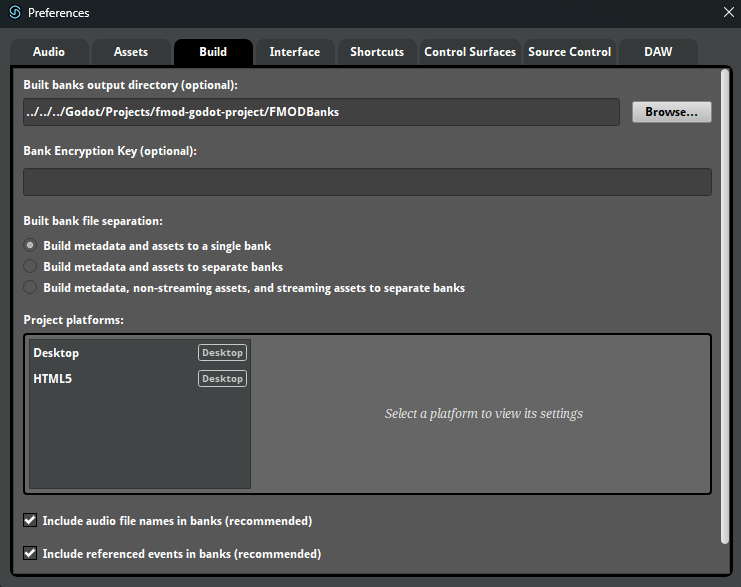
1) First, set where your sound banks will be built. Create a folder inside your Godot project and name it something like FMODBanks. Build your sound banks there.

2) In FMOD, open Preferences → Build and select your FMODBanks folder inside your Godot project as the build destination for your banks.
3) Make sure your FMOD events are assigned to a sound bank; otherwise, Godot won't be able to locate them.

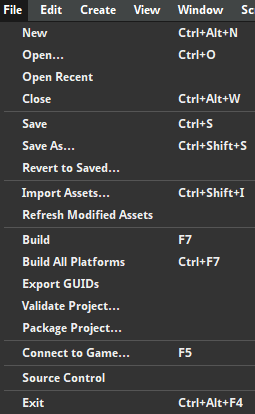
Build Banks
Build (F7) will take into account the platforms you selected in the Preferences window, or you can click “Build All Platforms” to achieve the same result.
Select Banks Path inside Godot
Go to Project - Project Settings - General - FMOD - General and change your Banks Path.

Now it should be something like this:

Open the Fmod Explorer and refresh your banks:

You got it! You can now browse your FMOD project's contents in the Explorer, but there's still one important thing you need to tell Godot...
Loading Banks
Before you can play FMOD events in Godot, you need to tell the engine which banks to load. Ideally, you should load banks based on the needs of each level or scene in your game to help optimize resource usage. However, when getting started, it's perfectly fine to load all your banks and use them for testing and experimentation.
You can do this either by using the FmodBankLoader node or using FMODServer api , depending on your workflow and project needs.
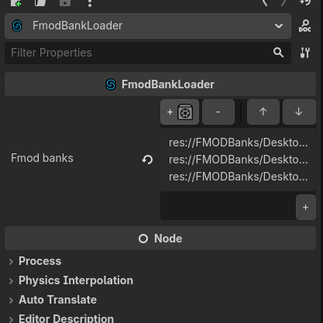
7.1 Using FmodBankLoader
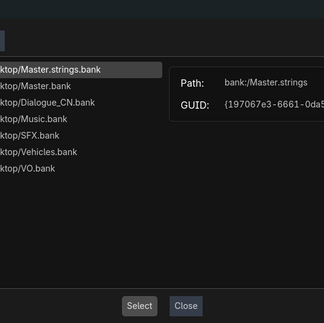
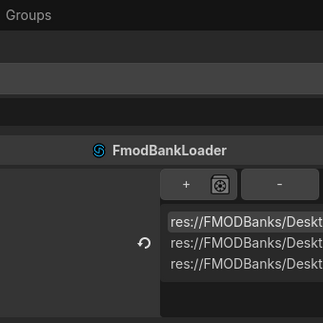
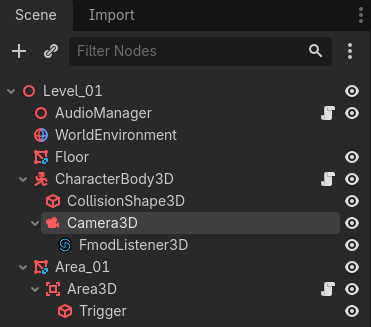
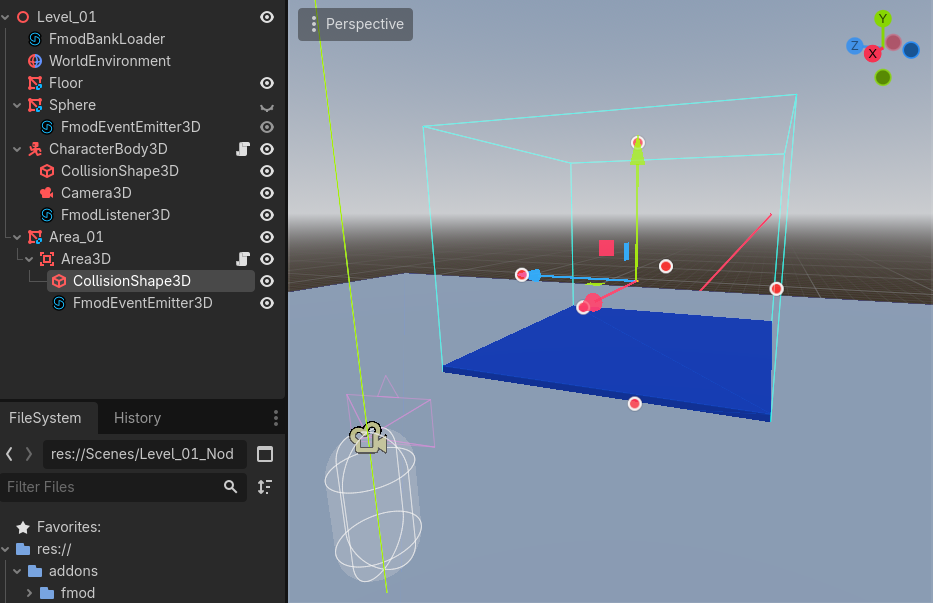
If you add this node to your scene (a 3D scene in my case), you'll be able to select which FMOD banks you want to load and use. Click + to add a new bank. Place this node at the very top of the hierarchy, before any other FMOD nodes.
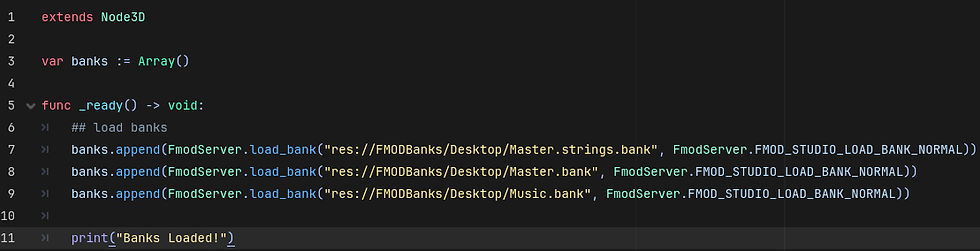
Warning from the official docs! Make sure to first load Master.strings.bank, and Master.bank in second. Those banks are dependencies needed by other banks. So if you don't load them first, you won't be able to load other banks.


7.2 Using FMODServer api
Method 1:

Method 2:
Listener
The quickest way to add a Listener to your scene is by using the FMODListener node (either 3D or 2D, depending on your needs). Attach it to your camera, since in most cases you’ll want to hear your level’s audio from the player’s point of view.
If you want to do it using FMODServer api click here.
Playing Events Using Nodes
8.1 Adding an FmodEventEmitter
Quick note: If you’ve downloaded my example project, you’ll notice that the default Character script doesn’t include camera rotation. Movement is also mapped to the arrow keys by default. If you want to change this setup, I found a tutorial that might be helpful. This article isn’t focused on gameplay mechanics, as those are typically handled by game developers or dedicated teams. My focus here is specifically on the audio implementation side of things.
Add an FmodEventEmitter3D (or 2D, depending on your project). Place it anywhere in your scene, or if you prefer, make it a child of a CSGMesh3D (in my case, a sphere).

Click your FmodEventEmitter3D node, select the event you want it to play, and to quickly test that everything is working, enable the Autoplay option. This will make the event play as soon as you start the game. For now, there’s not much point in using a 3D Emitter since our example is 2D, but later we’ll switch to a 3D setup and position it in space.

attached | if true, the Fmod event's position will update alongside the node's position. |
autoplay | if true, the event will autoplay (if false, it will play when the play() or start() function is called on it). |
auto release | if true, the emitter node will be automatically freed when the event finishes playing. |
allow fadeout | if true, the event will fade out when stopped. |
preload event | if true, the event will be preloaded when the node is ready. |
And what if we want to control when it gets played? See the next chapter!
8.2 Trigger Zones and Collision Layers
First, uncheck the “Autoplay” box, as we don't want the event to play automatically when the game starts.
The next step is an important one, and it's something I initially overlooked. As with engines like Unity and Unreal, it's a good practice to assign a dedicated layer to your Character. This allows you to control exactly which objects can interact with your triggers and colliders.
For example, imagine a physics object falls into your trigger zone during gameplay. If you haven't configured your collision layers and masks correctly, that object could accidentally trigger events that were only meant to be activated by the player, leading to unexpected behavior and difficult-to-debug issues.
Select your CharacterBody3D node, and in the Inspector change its collision layer—for example, set it to Layer 2 instead of Layer 1. You can also rename it to something like “Player” if you want to keep things more organized.

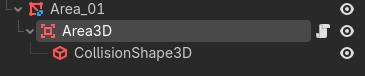
For this next example, I’ve created an Area3D with a CollisionShape3D. The idea is to use a script attached to the Area3D to detect when we enter or exit it.
A) When we enter, we’ll play the event.
B) When we exit, we’ll stop it.
Before we look at the script and logic, let’s click on our Area3D node and change which layer it interacts with in the Inspector. Under “Mask”, select Layer 2 (which corresponds to our “Player”).

Great! Now only our character will be able to trigger it. Let’s now create a script on our Area3D node. With the following code, we can trigger an event when entering the area and stop it when exiting.
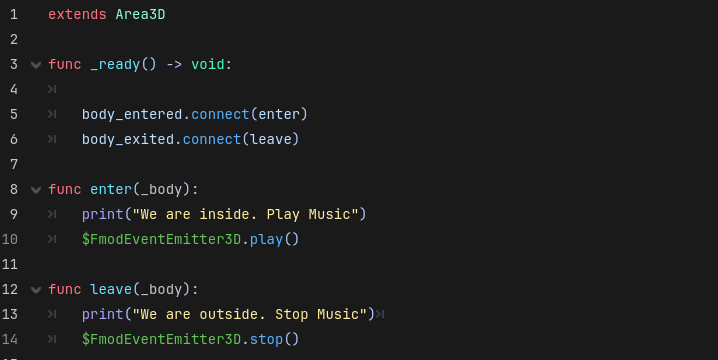
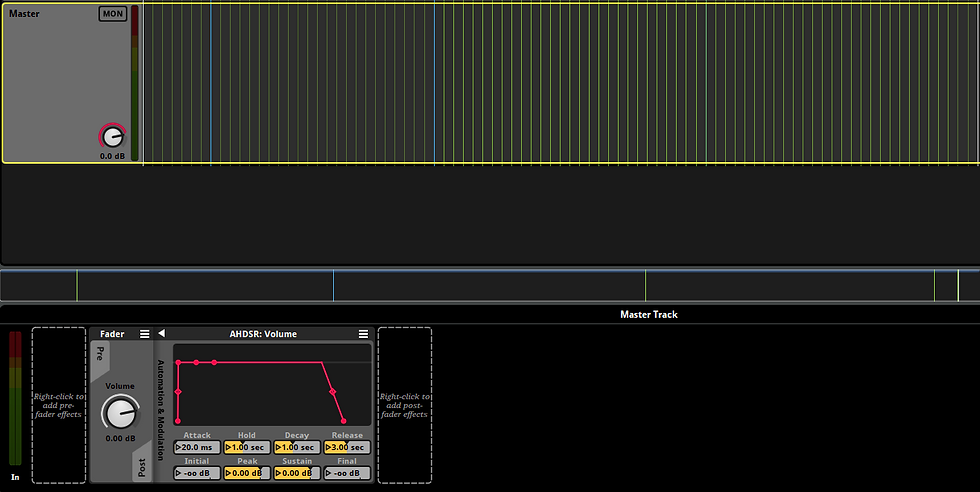
My event stops smoothly because, in FMOD, you can configure a release behavior that allows the event to fade out when it is stopped (3 seconds in this example).
Playing Events using FMODServer api
9.1 Trigger Zones and Collision Layers (FmodServer)
For this case, we wouldn’t need any nodes in our scene hierarchy. I’ve kept the FmodListener3D, but keep in mind that this could also be handled through the FMODServer API.
Once again, inside our Area3D script, but this time we’ll instantiate the event instead of calling the node. (Previously, remember we used $FmodEventEmitter3D.play to call the child node and play it.)
This time, I'm using a different approach:

Also working fine!
Playing 3D Event Sounds in Godot
Don’t forget to add a Spatializer to your FMOD event. Otherwise, Godot won’t recognize it as a 3D spatial object.
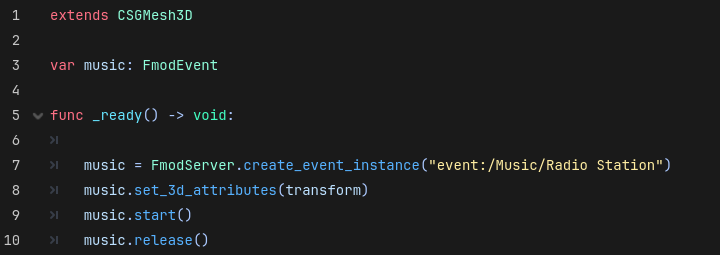
We use set_3d_attributes, and and we pass the object’s Transform so it knows where to apply it. Adjust it in FMOD to achieve the desired effect. If you’re not sure how the Spatializer works, I’ll leave you a video by Sergio Ronchetti that explains it really well.
Wrapping Up
Here's another video from FinePointCGI that might be useful, although some parts didn’t quite work for me.
I plan to create more examples as I continue exploring this, and maybe even a video in the future, but for now this is what I’ve been able to figure out. There are definitely many ways to improve this setup, but this is simply meant to help beginners like myself who want to explore how FMOD and Godot work together. Thanks a lot!
Here are my links:
Mail: marcwilly.sfx@gmail.com